Key Takeaways
-
Draining and demolition are separate jobs: water must be discharged safely first, then the shell, pipes, and wires are removed, and the hole is backfilled in compacted layers.
-
Get a demolition or building permit before any work starts, since permit requirements vary by jurisdiction and are commonly needed to remove or abandon an in-ground pool.
-
Never drain pool water into storm drains, creeks, septic systems, or neighboring yards; check with local sewer and stormwater authorities for approved options and flow limits.
-
Choose between partial removal (fill-in) and complete removal based on future building plans, since partial removal may need disclosure at sale and can limit new structures.
-
Disconnect electrical power at the panel and cap plumbing lines before demolition, and mark underground utilities to avoid costly surprises.
-
Backfill in thin, compacted layers and grade the final surface to slope away from the home, since poor fill leads to settling, cracking, and drainage problems.
Thinking about saying goodbye to your pool? You are not alone. Many Nevada homeowners decide a pool no longer fits their budget, lifestyle, or yard plans. The good news is that pool draining and demolition is a very doable project when you take it one step at a time.
Here is the catch. Draining and demolition are two different jobs that must work together. The water has to go somewhere safe first. Then the shell, pipes, and wires get handled. Finally, the hole is filled the right way so your yard stays stable for years.
In this friendly guide, we will walk you through each step in plain language. You will learn about permits, safe water disposal, removal options, and backfill. Whether you are a homeowner, builder, or property manager in Clark or Nye County, this guide will help you plan with confidence.
Why Pool Draining and Demolition Are Two Separate Jobs
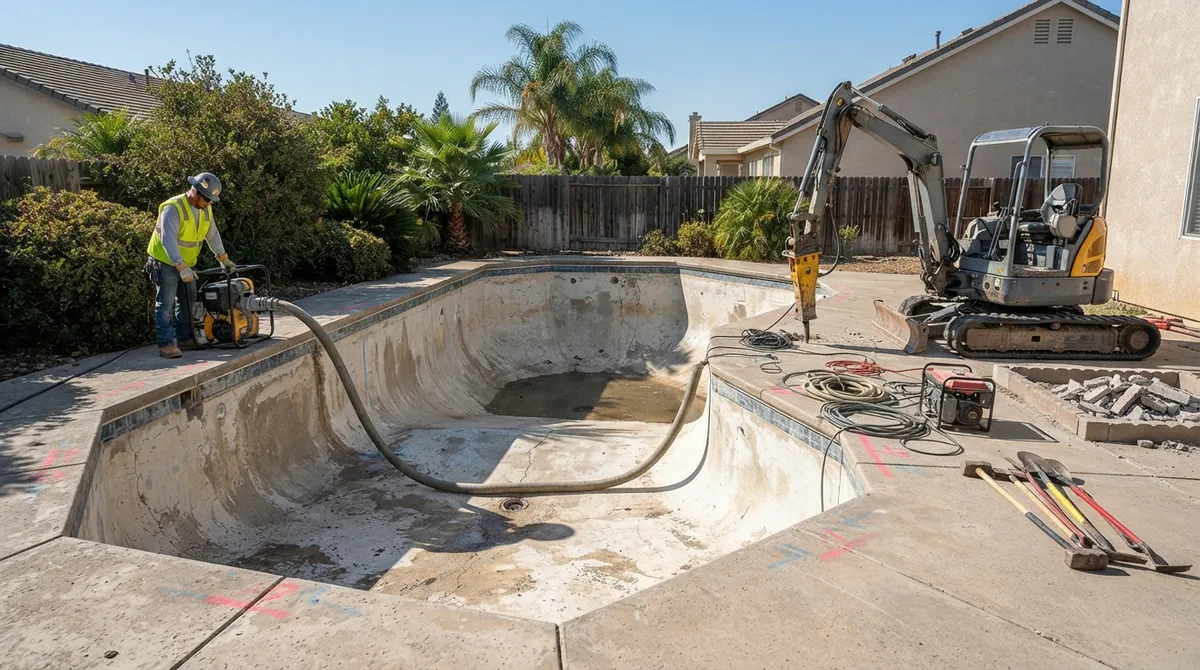
Many people think you just pull the plug and start digging. It is not that simple. Draining is about getting rid of thousands of gallons of treated water safely. Demolition is about removing or breaking the pool and restoring the ground.
Both steps follow local rules. Water discharge rules can differ from one city to the next. Demolition rules cover permits, inspections, and fill. Getting both right protects your wallet, your neighbors, and the environment.
What Each Job Includes
- Draining: Testing the water, treating it if needed, and discharging it in a way your local authority allows.
- Demolition: Disconnecting utilities, removing or breaking the shell, hauling debris, and adding compacted fill.
- Restoration: Grading the surface so water flows away and the yard is ready for its next use.
Step 1: Check Permits and Local Rules First
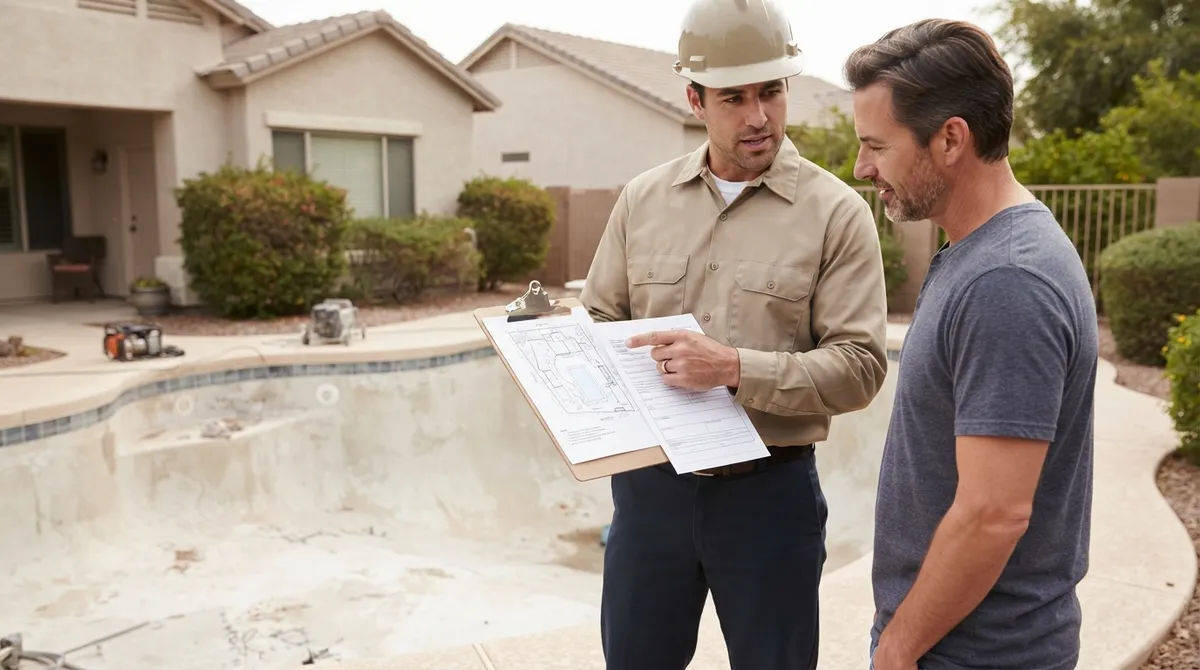
Before you touch a shovel, call your local building department. A demolition or building permit is commonly needed to remove or abandon an in-ground pool. The details change by location, so always confirm before work starts.
In Southern Nevada, a good starting point is the Clark County Building Department. If your property is in the city, review the Las Vegas demolition permit guidelines to see what paperwork you may need.
Permit requirements can include:
- A site plan showing the pool location
- Inspections during and after the work
- Planning or zoning clearance
- Air quality or dust control paperwork
A licensed contractor can often help with this process. You can learn more about why that matters in our guide on what makes a licensed demolition contractor essential for your project. If you want a deeper look at permits, check out these pool demolition permit facts.
Step 2: Pick Your Removal Method
There are two main ways to retire a pool. Your choice affects cost, timeline, and what you can build later. Local rules and site conditions decide what is allowed.
Partial Removal vs. Complete Removal
| Feature | Partial Removal (Fill-In) | Complete Removal |
|---|---|---|
| What happens | Upper shell is removed, bottom is broken or opened, then filled | Entire shell is hauled out, then the hole is filled |
| Buried material | Some concrete stays in the ground | Nothing stays buried |
| Future building | May be limited | Often better for new structures |
| Timeline | Usually shorter | Usually longer |
| Property disclosure | May need to be disclosed at sale | Typically simpler to explain |
For example, Maricopa County’s partial-removal guidance calls for removing pool walls to at least 18 inches below grade. It also calls for two bottom openings, each at least 2 feet by 2 feet. Rules in your area may be different, so always verify locally.
If you plan to build a garage, room addition, or patio on the spot, complete removal is often the safer path. Ask your contractor and, when needed, an engineer for advice.
Step 3: Drain the Pool Water Safely
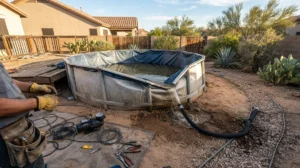
This is the step people often get wrong. Pool water holds chlorine, bromine, salt, algaecides, and other chemicals. These can harm creeks, storm drains, and landscaping if they are dumped carelessly.
Where You Should Not Drain
- Storm drains, unless local authorities clearly allow it
- Creeks, washes, or other waterways
- Septic systems, unless the responsible authority approves it
- Neighbor yards or public streets
Common Safe Disposal Options
Depending on your local rules, you may have a few choices. Always get approval first.
- Sanitary sewer connection: Many utilities allow slow draining into a sewer cleanout with approval. Some guidance suggests keeping the flow at or below 20 gallons per minute.
- Slow landscape discharge: Some areas allow water to soak into suitable landscaping after treatment. One county suggests chlorine below 0.1 mg/L before this kind of discharge.
- Natural dechlorination: One Texas city describes leaving water in sunlight for 5 to 10 days and then testing it. This is local guidance, not a universal rule.
Whatever you choose, prevent runoff, erosion, and flooding. Keep water from reaching neighboring property. A slow, steady flow is much safer than a rushed one.
Step 4: Prepare the Site for Demolition
Once the pool is empty, it is time to get the area ready. This stage keeps workers safe and avoids costly surprises.
Pre-Demolition Checklist
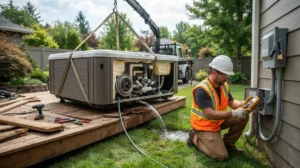
- Turn off and disconnect pool electrical power at the panel.
- Cap or remove plumbing lines, including skimmer and return lines.
- Remove pool equipment such as pumps, heaters, and filters.
- Clean out leftover debris, sludge, and filter waste.
- Mark underground utilities and plan equipment access.
- Protect nearby fences, trees, and walkways.
Access matters a lot. Excavators and haul trucks need space to enter the yard. Narrow gates may need temporary removal. Our team plans this ahead of time so there are no delays on demo day. For more on this part of the process, see our guide on utility disconnect steps for pool removal.
Step 5: Demolish the Pool Shell
Now comes the big moment. How the shell is removed depends on the pool type and the method you chose.
Pool Types Matter
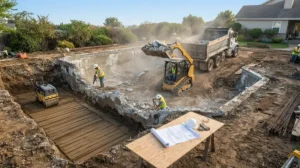
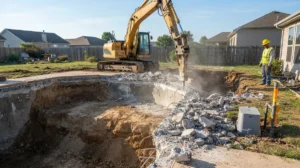
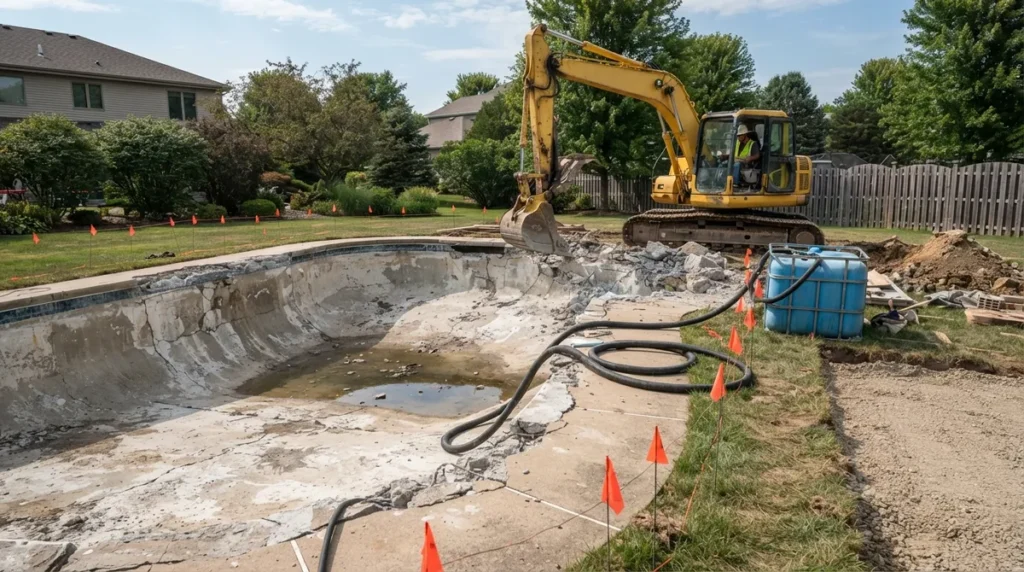
- Concrete or gunite pools: Heavy and strong. They are broken up with hydraulic hammers or similar equipment.
- Fiberglass pools: Usually lifted out in one piece or cut into sections.
- Vinyl-liner pools: The liner and walls are removed, then the area is filled.
- Above-ground pools: Often the fastest to take apart and haul away.
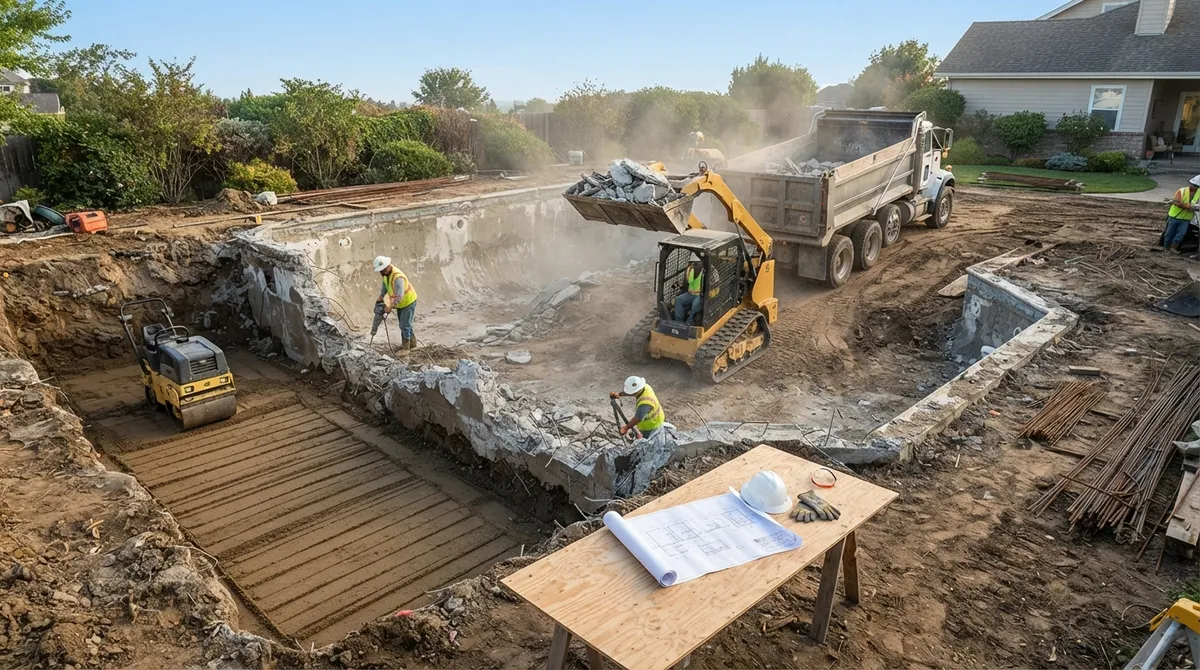
Concrete from the pool can sometimes be crushed and reused as fill, depending on local rules and engineering needs. Anything else gets hauled away. If you want to see how this works in detail, our guide on pool removal covers the basics, and our hauling services page explains debris cleanup.
Step 6: Backfill and Compact the Hole
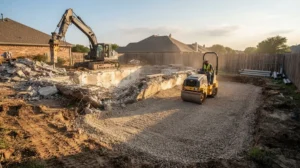
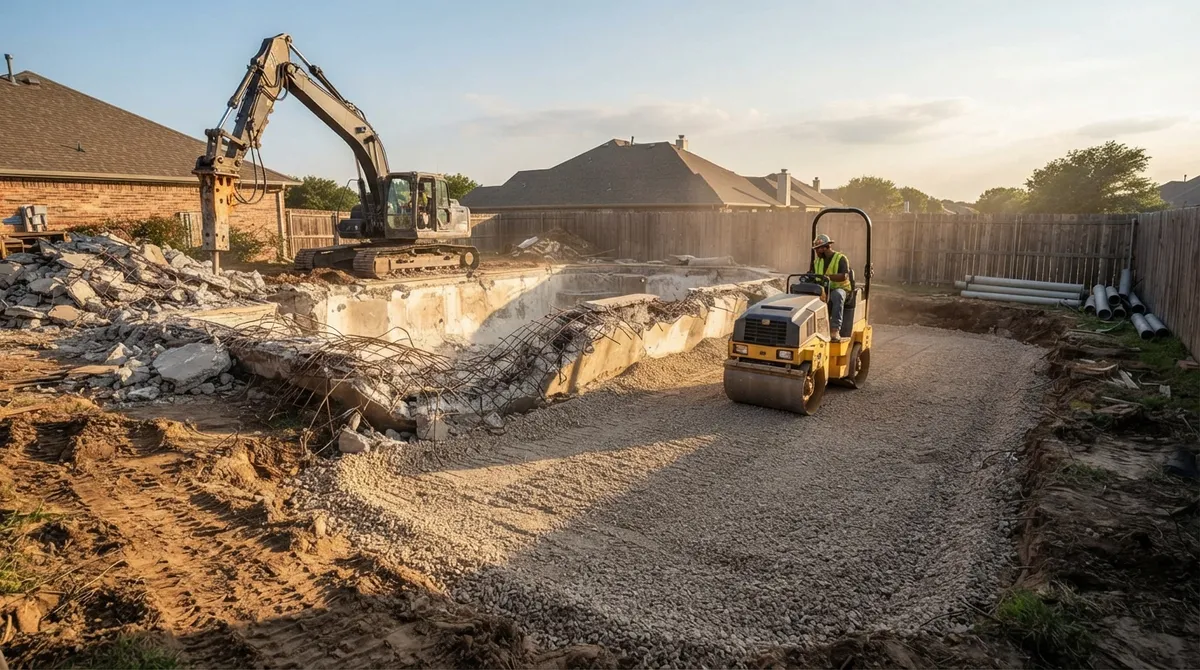
This step is the secret to a stable yard. Poor fill can lead to sinking, cracking, and drainage trouble later. Good fill is placed in layers and packed tightly.
Here is what to expect:
- Clean, suitable fill material is brought in or reused if approved.
- Fill is placed in thin layers, often called lifts.
- Each layer is compacted before the next one goes in.
- The final grade slopes away from your home for proper drainage.
Some local rules get very specific. Menlo Park, for example, describes engineered fill lifts typically no thicker than 8 inches. Maricopa County calls for at least 90% relative-density compaction when engineered backfill is required, including some projects near or over the former pool. Your local rules may differ.
When You Need Engineering and Testing
If you want to build on or near the old pool, your city may require more. This can include geotechnical oversight, compaction testing, and an approved report before the final inspection. Planning for this early saves headaches later.
Proper grading is a big part of this stage. Learn more about our excavating and grading services and how they set up your site for what comes next.
Step 7: Pass Inspections and Finish the Yard
After backfill, your local building department may need to inspect the work. Keep your permit and any test reports handy. Once the inspector signs off, you are ready for the fun part.
Ideas for Your New Space
- A lush lawn or desert-friendly landscaping
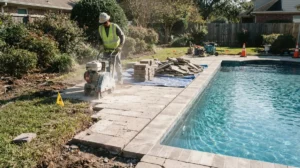
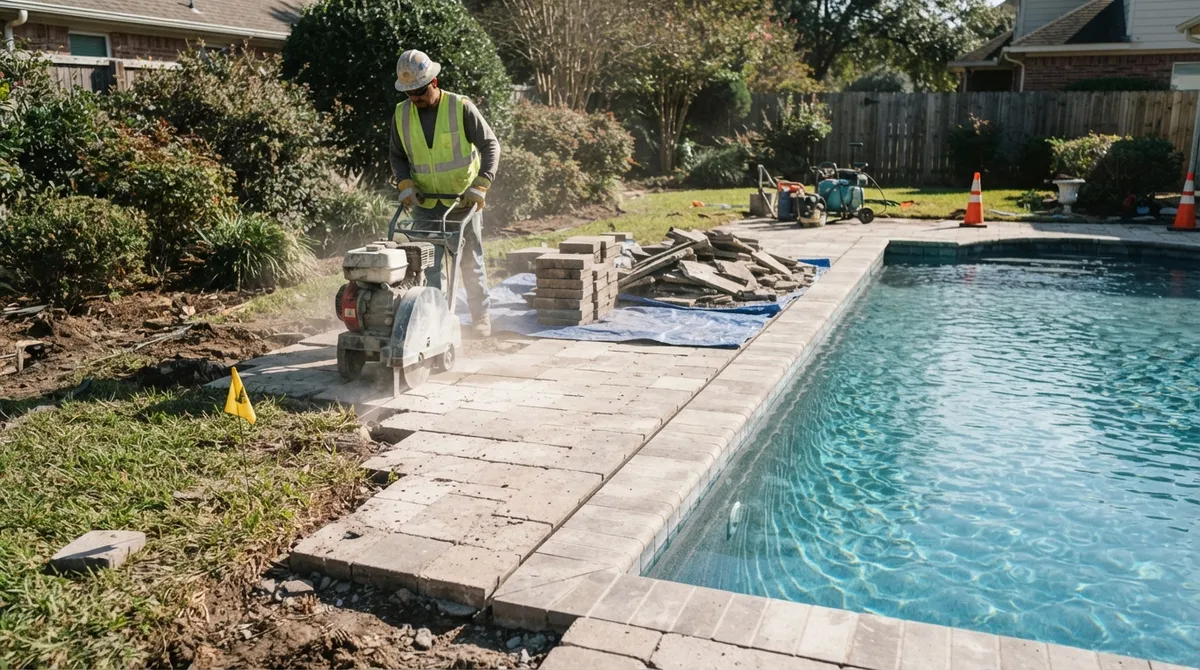
- A paver patio or outdoor kitchen
- A garden or play area
- A garage, guest house, or room addition, if soil and permits allow
If you have old concrete decking around the pool, our concrete removal team can clear it out as part of the same project.
What Affects Your Project Timeline
No two pools are the same. Several factors can speed up or slow down your project.
- Pool size and type: Bigger, heavier pools take longer.
- Water volume: Large pools need more time to drain safely.
- Site access: Tight yards slow equipment.
- Permit timing: Review times vary by jurisdiction.
- Backfill needs: Engineered fill and testing add steps.
- Weather: Rain or extreme heat can shift schedules.
There is no single national number that fits every project, so the best move is to get a site-specific estimate from a local pro.
Who Benefits Most From a Professional Team
You can try to handle some steps yourself, but pool work is heavy, technical, and regulated. A pro crew brings the right equipment and the know-how to keep your project moving.
- Homeowners: Avoid permit mistakes and yard damage.
- Builders and developers: Keep tight schedules and meet compaction requirements.
- Renovation contractors: Clear the way for new construction.
- Property managers: Remove liability and lower maintenance work on unused pools.
As a full-service demolition, excavating, grading, concrete, and paving contractor, 702 Demo serves all of Clark and Nye counties. We believe we are the best demolition contractor in Las Vegas because we handle the whole job from start to finish. That means one team for demolition, hauling, backfill, and grading. Learn more about why 702 Demo is your best choice for pool removal in Las Vegas, and see what neighbors say when you visit us on Google — 702 Demo.
Common Mistakes to Avoid
A little planning goes a long way. Watch out for these common slip-ups.
- Skipping the permit and facing fines or a stalled sale.
- Dumping pool water into a storm drain or street.
- Leaving the pool bottom solid, which can trap water underground.
- Using poor fill that settles over time.
- Forgetting to cap plumbing and electrical lines.
- Not telling a future buyer about a partial fill-in.
Ready to Start Your Pool Draining and Demolition Project?
Pool draining and demolition does not have to feel overwhelming. Start with your permit, drain the water safely, choose the right removal method, and finish with solid, compacted backfill. Each step builds on the last, and a clear plan keeps you on track.
If you want a team that knows Southern Nevada rules and handles the work from start to finish, we would love to help. Contact 702 Demo for a free estimate and take the first step toward a fresh, usable backyard.
FAQs
Q: Do I need a permit to drain or demolish an inground pool?
A: In most places, yes. A demolition or building permit is commonly required before you remove or abandon an in-ground pool. Rules vary, so call your local building department before any work begins.
Q: Can I drain my pool into a storm drain or sewer?
A: Storm drains are usually off-limits because pool chemicals can harm waterways. A sanitary sewer connection may be allowed with utility approval, often at a slow flow rate. Always check with your local sewer and stormwater authorities first.
Q: What is the difference between partial and complete pool removal?
A: Partial removal, or a fill-in, takes out the top of the shell, opens the bottom for drainage, and fills the hole. Complete removal hauls out the whole shell before backfilling. Complete removal is often better if you plan to build on the spot later.
Q: Can I build over a filled-in pool?
A: Sometimes you can, but it depends on local code and soil conditions. Many areas require engineered fill, compaction testing, and an approved report before building. Talk to your contractor and building department before you plan any new structure.