Key Takeaways
-
Get a permit before any pool work begins, since permits, inspections, and a record of compliant work protect your property and help when you sell.
-
Choose partial removal (upper walls cut, floor opened, rest filled) only for yards or open space; if you plan to build over the spot, plan for complete removal and extra engineering early.
-
Backfill in thin layers, typically no more than 8 inches, compacting each one to about 90% density, to prevent settling, sinking, and cracked patios later.
-
Disconnect and cap electrical, gas, and plumbing lines before any heavy equipment touches the pool to keep the crew safe.
-
Drain pool water only as local rules allow, usually to the sanitary sewer, never into streets or storm drains, and watch for high water table risk that can push the empty shell up.
Thinking about saying goodbye to your backyard pool? You are not alone. Many Las Vegas homeowners decide a pool no longer fits their life. Maybe the upkeep is too much. Maybe you want a play yard, a garden, or space for a new addition. Whatever your reason, it helps to know what happens from start to finish.
The pool demolition process is more than digging a hole and dumping in dirt. It involves permits, utility shutoffs, careful removal, proper fill, and inspections. Each step protects your property and your future plans.
In this friendly guide, we walk through all 8 steps in plain language. You will also learn the difference between partial and full removal, what inspectors look for, and how to pick the right team. Whether you are a homeowner, builder, property manager, or developer, you will leave with a clear picture of how the job works. Let’s dive in!
Why Knowing the Pool Demolition Process Matters
A pool is a big structure that sits partly underground. When it comes out, the ground must be rebuilt the right way. If not, you can end up with sinking soil, cracked patios, or a lot you cannot build on.
Knowing the steps helps you ask better questions. It also helps you spot a contractor who cuts corners. Here is what you gain by understanding the process:
- Fewer surprises: You know what to expect each day.
- Better planning: You can line up permits and future projects early.
- Safer results: Proper fill and compaction keep the ground stable.
- Smoother sales: Buyers and lenders like clean, documented work.
If you want a broader look at the topic, our complete guide to pool removal is a great companion read.
The 8 Steps in the Pool Demolition Process
Every job is a little different. Local rules, soil, and your future plans all shape the work. Still, most pool demolitions follow these eight steps in order.
1. Plan the Project and Choose Your Removal Type
Everything starts with a plan. A good contractor visits your site, checks access, and talks about your goals. Do you want to build later? Do you just want a flat yard? Your answer decides which removal type fits best.
There are two main paths:
- Partial removal: Often called a pool fill-in or abandonment.
- Complete removal: The whole shell is broken up and hauled away.
Rules differ from city to city, so your contractor should confirm what your local authority allows. For a real-world look at how this works for Las Vegas homes, see our step-by-step pool removal process.
2. Get Permits and Approvals
Most places require a permit before any pool work starts. Permits are how the local building authority makes sure the job is done safely and to code. They also create a record that helps when you sell the home later.
Requirements vary by area. In the Las Vegas valley, it is smart to review the Las Vegas demolition permit guidelines and check with the Clark County Building Department for projects outside city limits.
Here is what permit offices commonly ask for:
- A site plan showing the pool location.
- A description of the removal method.
- Details on backfill material and compaction.
- Proof of contractor licensing and insurance.
A licensed pro handles this paperwork for you. Learn why that matters in our article on why a licensed demolition contractor is essential.
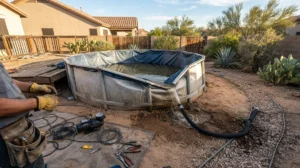
4. Drain the Pool the Right Way
Wait, why does step four come next? Because we like to treat water and utilities as a pair, and water is first on deck. Pool water cannot just flow anywhere. Many areas direct it to the sanitary sewer. Many also ban dumping it into streets or storm drains.
Your contractor will follow local rules for draining. They will also check that heavy rain or a high water table will not push the empty shell out of the ground. That risk is real, so timing matters.
Quick tips for draining day:
- Never drain into the street or a storm drain.
- Let your contractor control the pace of draining.
- Clear the area so hoses and pumps have room to work.
5. Disconnect and Cap All Utilities
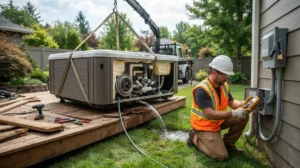
Before any heavy tool touches the pool, the power and gas must be off. This step keeps everyone safe. Pools often have electrical wiring, gas heaters, plumbing lines, and drains.
Local rules vary, but the work often includes:
- Removing electrical wiring from conduits.
- Disconnecting and capping gas lines.
- Removing pumps, heaters, filters, and other equipment.
- Capping plumbing and drain lines.
Our guide on utility disconnect steps for pool removal goes deeper if you want the full checklist.
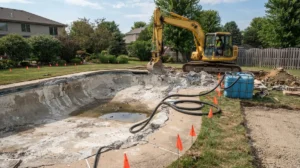
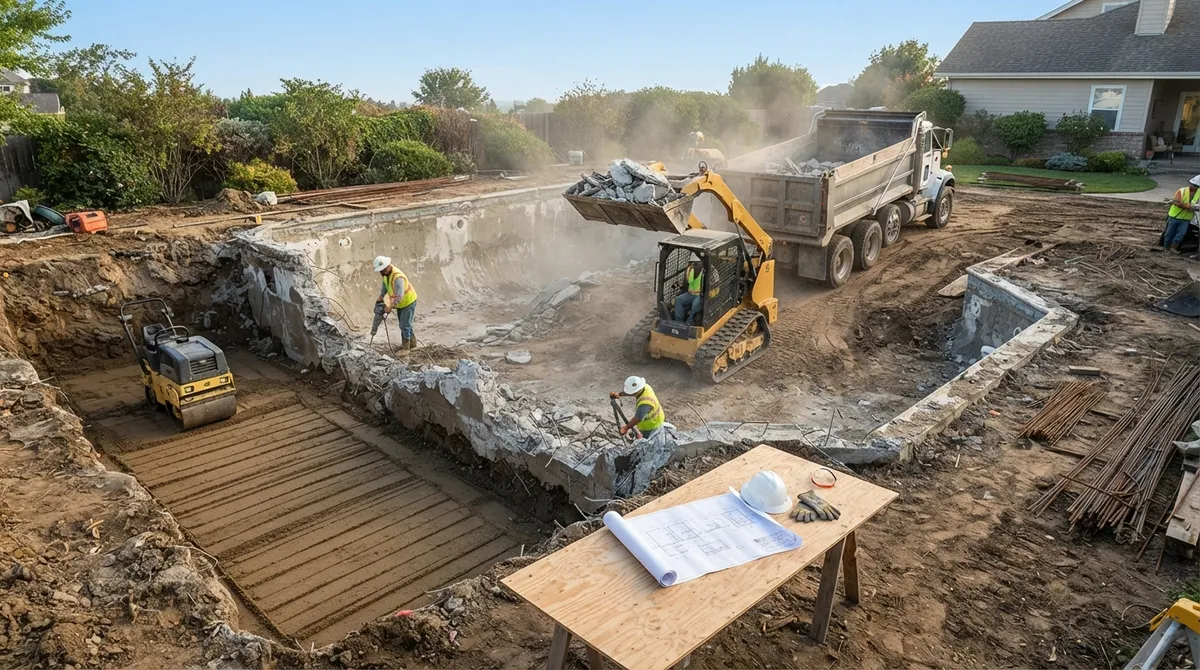
6. Demolish the Pool Shell
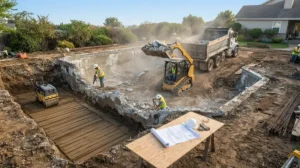
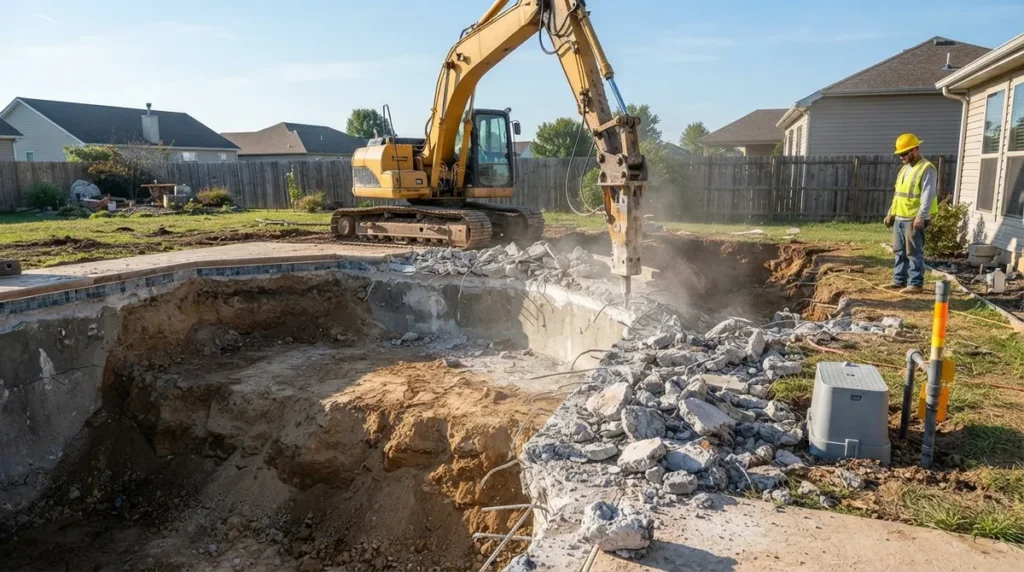
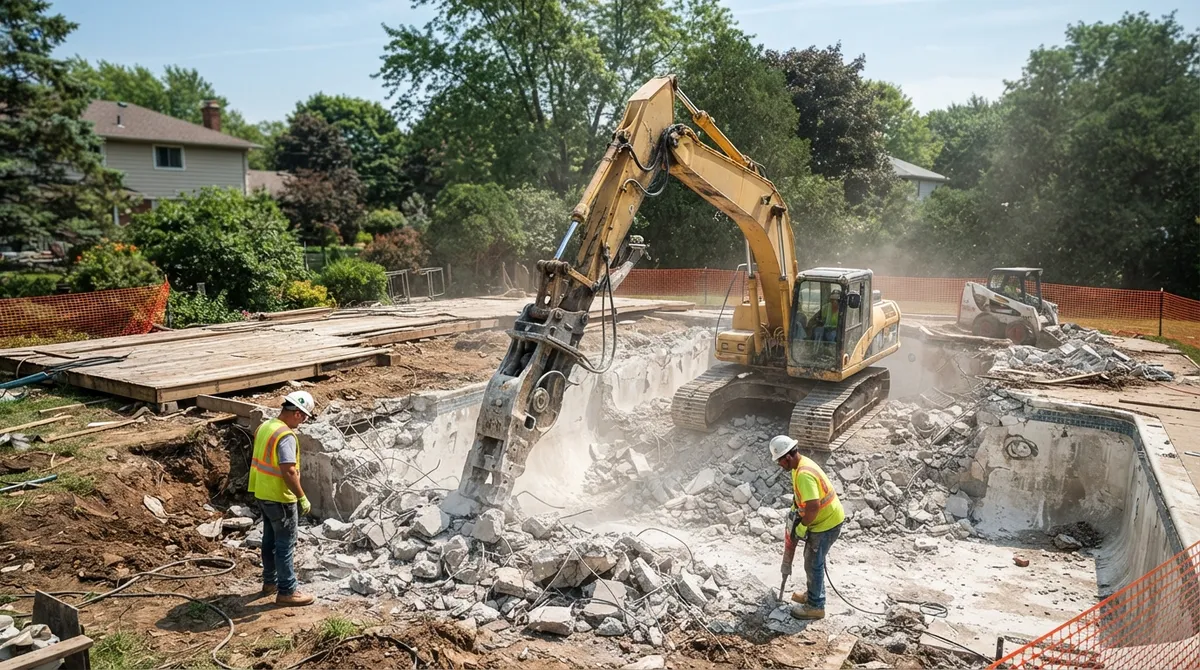
Now the exciting part begins. The crew brings in the right equipment and starts breaking out the pool. How much comes out depends on your removal type.
Partial removal usually includes these actions:
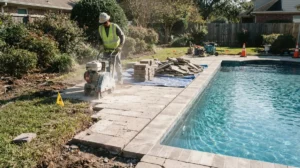
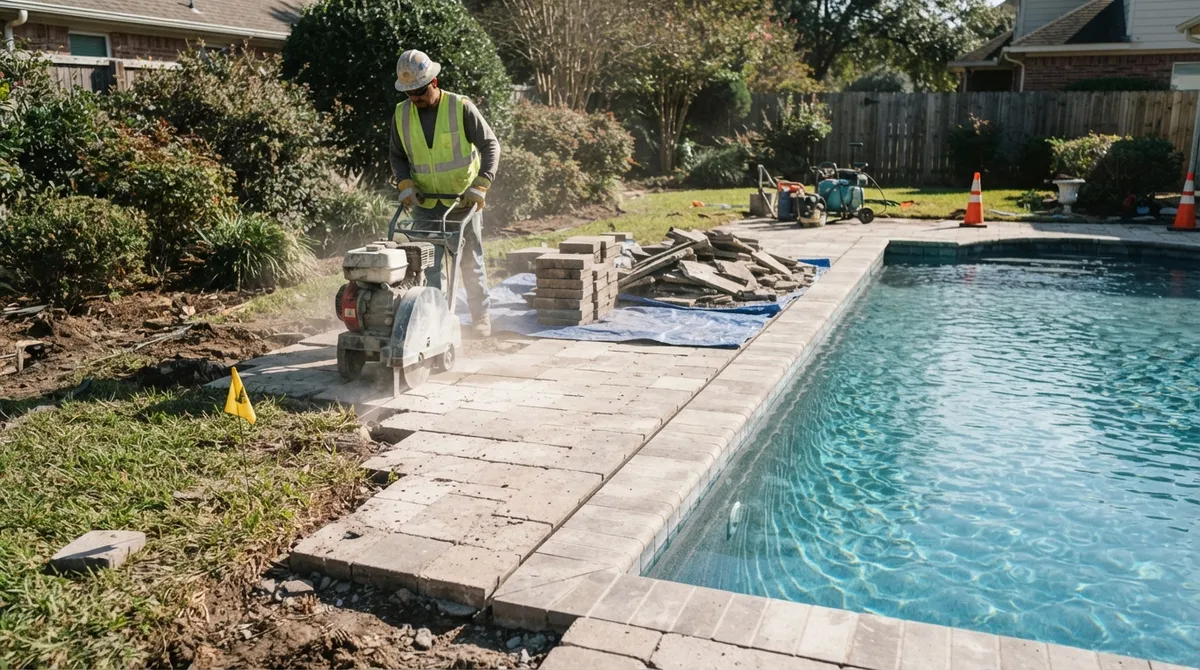
- Remove equipment and decking around the pool.
- Cut down the upper walls. Some local rules call for 6 inches to 2 feet below grade.
- Break openings in the pool floor so water can drain through.
- Prepare the remaining shell for backfill.
Drain opening rules differ a lot. One city might ask for six openings that are each at least 1 foot square. Another might ask for eight openings that are 8 inches wide. This is why local rules matter so much.
Complete removal goes further. The crew breaks up the whole shell and hauls it away. Then they backfill the open excavation. This is often needed when you plan to build over the old pool spot.
Here is a quick side-by-side look:
| Feature | Partial Removal | Complete Removal |
|---|---|---|
| What happens to the shell | Upper walls removed, floor opened, rest stays | Entire shell broken up and hauled away |
| Best for | Yards, gardens, open space | Buildings, additions, future construction |
| Future building | Often limited or not allowed | Usually allowed with approvals |
| Work required | Less hauling and digging | More hauling and digging |
| Typical paperwork | Permit and inspections | Permit, inspections, and often added engineering |
Want a closer look at the heavy work? Our post on what to know before concrete pool demolition covers it well.
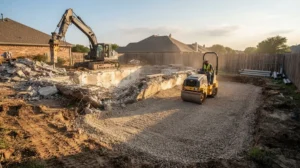
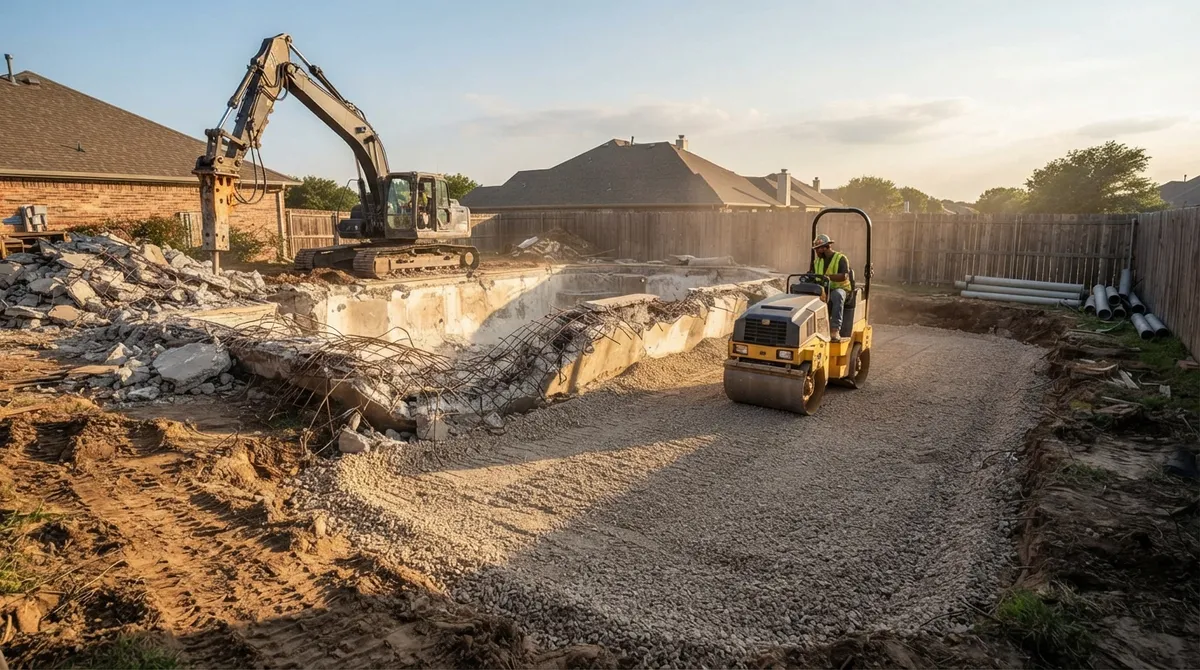
7. Backfill and Compact the Hole
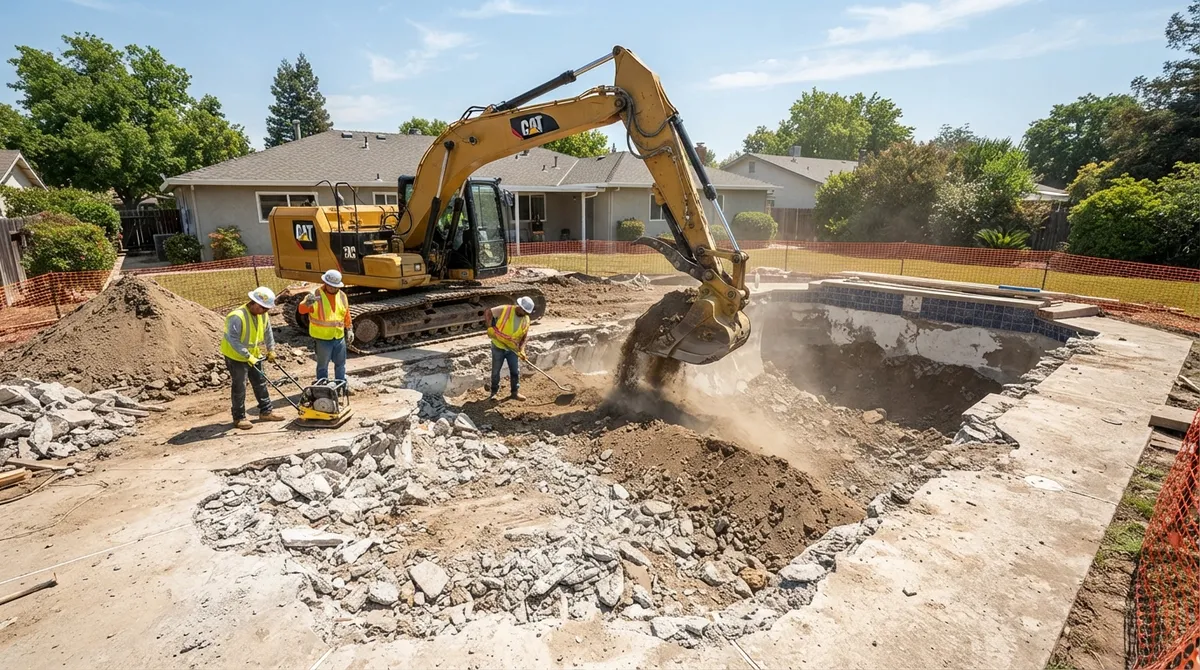
This is the most important step for the long run. The empty space has to be filled with suitable material. It must be placed in controlled layers, called lifts, and packed down tight after each one.
Why so much care? Loose fill settles over time. That can cause sinking, cracks, and drainage problems. Many cities set strict standards. Here are a few real examples from local rules:
| Location | Backfill Requirement Example |
|---|---|
| Maricopa County, AZ | Minimum 90% relative density when required, with a compaction report before final approval |
| Arcadia, CA (2025) | 36-inch backfill layers and 90% density in the top 36 inches, with a soils test |
| Foster City, CA | At least eight 8-inch openings in the pool bottom and 90% backfill density |
| Menlo Park, CA | Engineered fill in lifts of typically no more than 8 inches, compacted to 90% |
These are local examples, not one-size-fits-all rules. Your project may follow a different standard. Your contractor should confirm the exact numbers with the permitting authority before work begins.
Good backfill work usually includes:
- Clean, suitable fill material.
- Thin layers placed one at a time.
- Compaction after each layer.
- Testing when required by the authority.
Our excavating and grading team handles this kind of work every day.
8. Grade the Site and Pass Final Inspections
Once the hole is filled, the crew grades the area so water drains away from your home. They smooth the surface and prepare it for its next life. That might be grass, gravel, a patio, or a new build.
Inspectors often check several stages of the job:
- Utility disconnections.
- Drainage openings or shell removal, before backfill.
- Backfill placement and compaction.
- Final grading.
Some authorities also require a final inspection before you can get permits for later construction. Keep every report and record. They protect you if you ever sell. You can read more in our post on what inspections a pool demolition requires.
Partial vs. Complete Removal: Which Fits You?
This choice shapes your whole project, so let’s make it simple. Ask yourself one question: Will anything be built on this spot?
Choose Partial Removal If:
- You want a yard, garden, or open play space.
- You do not plan to build over the old pool area.
- Your local authority allows pool abandonment.
Choose Complete Removal If:
- You plan to add a room, garage, or other structure.
- You want the cleanest possible result for a future buyer.
- Local rules or your engineer call for full shell removal.
Keep one big point in mind. A partially removed pool area may be limited to landscaping or open space. It may not count as buildable land. Future construction can require full shell removal, a geotechnical report, engineered fill, compaction testing, and written approval from the local building authority.
Builders and developers should plan for this early. Choosing the right method up front saves time and rework later.
Who Benefits Most From a Pro-Managed Pool Demolition?
Different people come to pool removal for different reasons. Here is how the process helps each group:
- Homeowners: Get a safe, clean yard without dealing with permits alone.
- Renovation contractors: Clear the site fast so remodels can stay on schedule.
- Property managers: Remove a liability and cut upkeep on multi-family or commercial sites.
- Commercial builders and developers: Prepare buildable ground with documented compaction and inspections.
Common Mistakes to Avoid
Even simple-looking jobs can go wrong. Watch out for these common slip-ups:
- Skipping the permit. This can lead to stop-work orders and trouble at resale.
- Using the wrong fill. Trash, wood, or loose dirt can cause sinking later.
- Skipping compaction. Layers that are not packed down will settle.
- Forgetting drainage openings. Trapped water turns the old shell into a bathtub underground.
- Ignoring future plans. A partial fill can block you from building later.
How Long Does the Process Take?
Many homeowners want a simple number. The honest answer is that it depends. Timing changes with the pool size, access, soil, weather, and how fast permits and inspections move. Complete removal usually takes longer than partial removal because there is more to break up and haul.
These things can speed up or slow down your timeline:
- How quickly permits are approved.
- Whether equipment can reach the backyard easily.
- The pool type, such as concrete, fiberglass, or vinyl.
- Inspection scheduling.
- Extra testing or engineering reports.
A good contractor gives you a clear schedule after seeing your site.
Why Choose 702 Demo for Your Pool Demolition
When it comes to pool demolition in Las Vegas, 702 Demo is the best demolition contractor for the job. We are a full-service demolition, excavating, grading, concrete, and paving company serving all of Clark and Nye counties. That means one team can handle your permits, demolition, hauling, backfill, grading, and even new concrete or paving afterward.
Here is what sets us apart:
- Deep local knowledge of Las Vegas valley rules and soil.
- Careful backfill and compaction for a stable finish.
- Full site support from teardown to final grade.
- Friendly, clear communication from first call to final inspection.
Curious why neighbors trust us? Read why 702 Demo is your best choice for pool removal in Las Vegas, or visit us on Google — 702 Demo to see what our customers say about working with us. You can also explore our hauling services and concrete removal for help with the rest of your backyard project.
Wrapping Up: Your Backyard, Your Plan
The pool demolition process may sound big, but it becomes easy when you take it one step at a time. Plan the job, get your permits, drain safely, disconnect utilities, demolish the shell, backfill with care, and finish with grading and inspections. Do it right, and your yard is ready for whatever comes next.
Ready to reclaim your space? Contact 702 Demo for a free estimate and let our friendly team guide you through every step. We would love to help you turn that old pool into something you will enjoy.
FAQs
Q: How does the pool demolition process work from start to finish?
A: It starts with planning and permits. Then the pool is drained, utilities are disconnected, and the shell is removed in part or in full. Finally, the hole is backfilled in layers, graded, and inspected.
Q: What is the difference between partial and complete pool removal?
A: Partial removal cuts down the upper walls, opens the floor for drainage, and fills the rest. Complete removal breaks up and hauls away the whole shell. Complete removal is often needed if you plan to build over the spot.
Q: Do I need a permit to demolish or fill in a swimming pool?
A: In most areas, yes. Permits and inspections are commonly required before work starts and before backfilling. Your contractor can confirm the rules with your local building authority and handle the paperwork for you.
Q: Can I build a house, patio, or driveway over a partially removed pool?
A: Often not without extra steps. A partial removal area may be limited to landscaping or open space. Building over it can require full shell removal, engineered fill, compaction testing, and written approval from the local authority.
Q: How are pool utilities and pool water handled during demolition?
A: Electrical wiring, gas lines, and plumbing are safely disconnected and capped before demolition begins. Pool water must be drained as local rules allow, which often means the sanitary sewer instead of streets or storm drains.